Align Plus
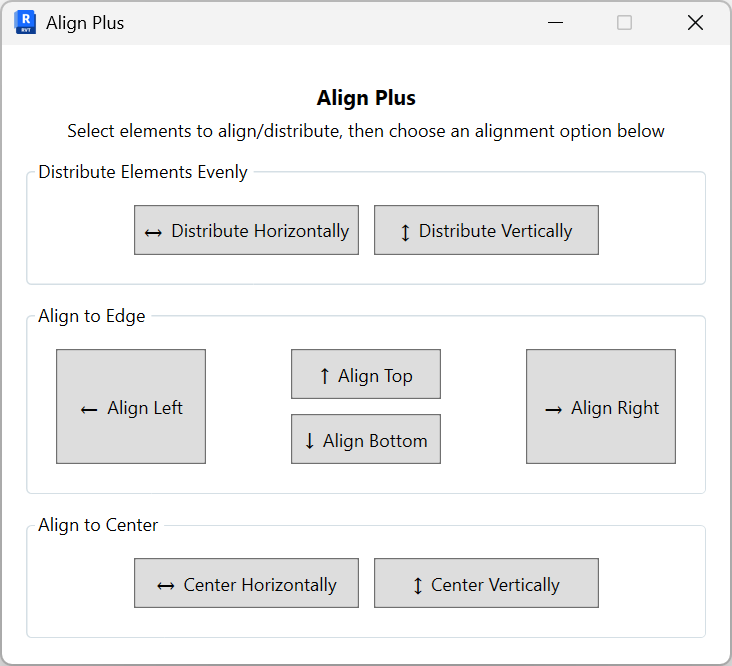
Align and distribute selected elements quickly. Keep this window open and continue interacting with Revit while the tool is running, select/deselect elements, pan/zoom, or undo-then run another alignment.
- Select elements in Revit. You can preselect before opening the tool or change your selection at any time while it is open.
- Choose an action.
- Distribute Elements Evenly
- Distribute Horizontally - spaces elements evenly along X between the leftmost and rightmost items.
- Distribute Vertically - spaces elements evenly along Y between the topmost and bottommost items.
- Align to Edge
- Align Left / Right - snaps all items to the outermost element's left/right edge.
- Align Top / Bottom - snaps all items to the outermost element's top/bottom edge.
- Align to Center
- Center Horizontally - aligns items to a common horizontal centerline.
- Center Vertically - aligns items to a common vertical centerline.
- Distribute Elements Evenly
- Apply and repeat. Run multiple operations in sequence; use Revit Undo to revert the last change.
Notes: Position is adjusted only (no rotation/scale). Works with items that can be moved in the active view.